When Should You Create Your Wedding Website? A Simple Timeline
AI-generated image
"When should I make our wedding website?" is one of the first planning questions couples ask, and the usual answer, "early", is true but useless. The better question is what your website needs to do at each stage, and what goes wrong if it is not ready when guests need it.
This guide reframes the timeline around your guests, not the calendar. We will walk through a standard schedule, the edge cases for short engagements, destination weddings and elopements, the timing mistakes that quietly cost you, and a countdown checklist you can work straight through.
When should you create your wedding website?
Create a simple version as soon as you start telling people the date, and have it live before your save-the-dates go out, usually somewhere between nine and twelve months ahead. You do not need every detail finished to launch; you need enough for guests to act on, and you fill in the rest as you go.
Timing matters because your website is how guests make decisions. Book time off, arrange travel, find somewhere to stay, sort childcare. The earlier the key information is available, the better the choices your guests can make, and the fewer questions land in your inbox.
Three jobs across three phases
Your wedding website does three jobs across three phases, and the timing of each section follows from which job it is doing.
- Before the day, it informs: dates, location, travel, RSVP.
- On the day, it points guests to capture: the gallery and the way to add photos.
- After the day, it keeps: the photos, toasts and messages, in one place to revisit.
Plan the timeline with all three in mind and you build the site once, in stages, rather than scrambling to repurpose it later.
The standard timeline (twelve to eighteen months)
Most couples have a year or more between getting engaged and the wedding, and a long engagement is increasingly the norm rather than the exception. Here is how to roll out your website across that runway so each part is ready exactly when guests need it.
Right after you get engaged
Claim your website address and build a simple shell. You do not need details yet, just secure the link and put up your names, the date if you have it, and the location or region. This reserves your address and gives you somewhere to point excited friends and family.
Nine to twelve months out: launch with your save-the-dates
Publish the website properly alongside your save-the-dates. This is the moment guests start making decisions, so the site needs the date, the location, travel basics, and a way to register interest or find out more. For guests who need to book time off or travel, this lead time is the difference between a yes and a reluctant no. Hotel room blocks are also typically arranged around this point.
Six to eight months out: open the RSVP and fill in the detail
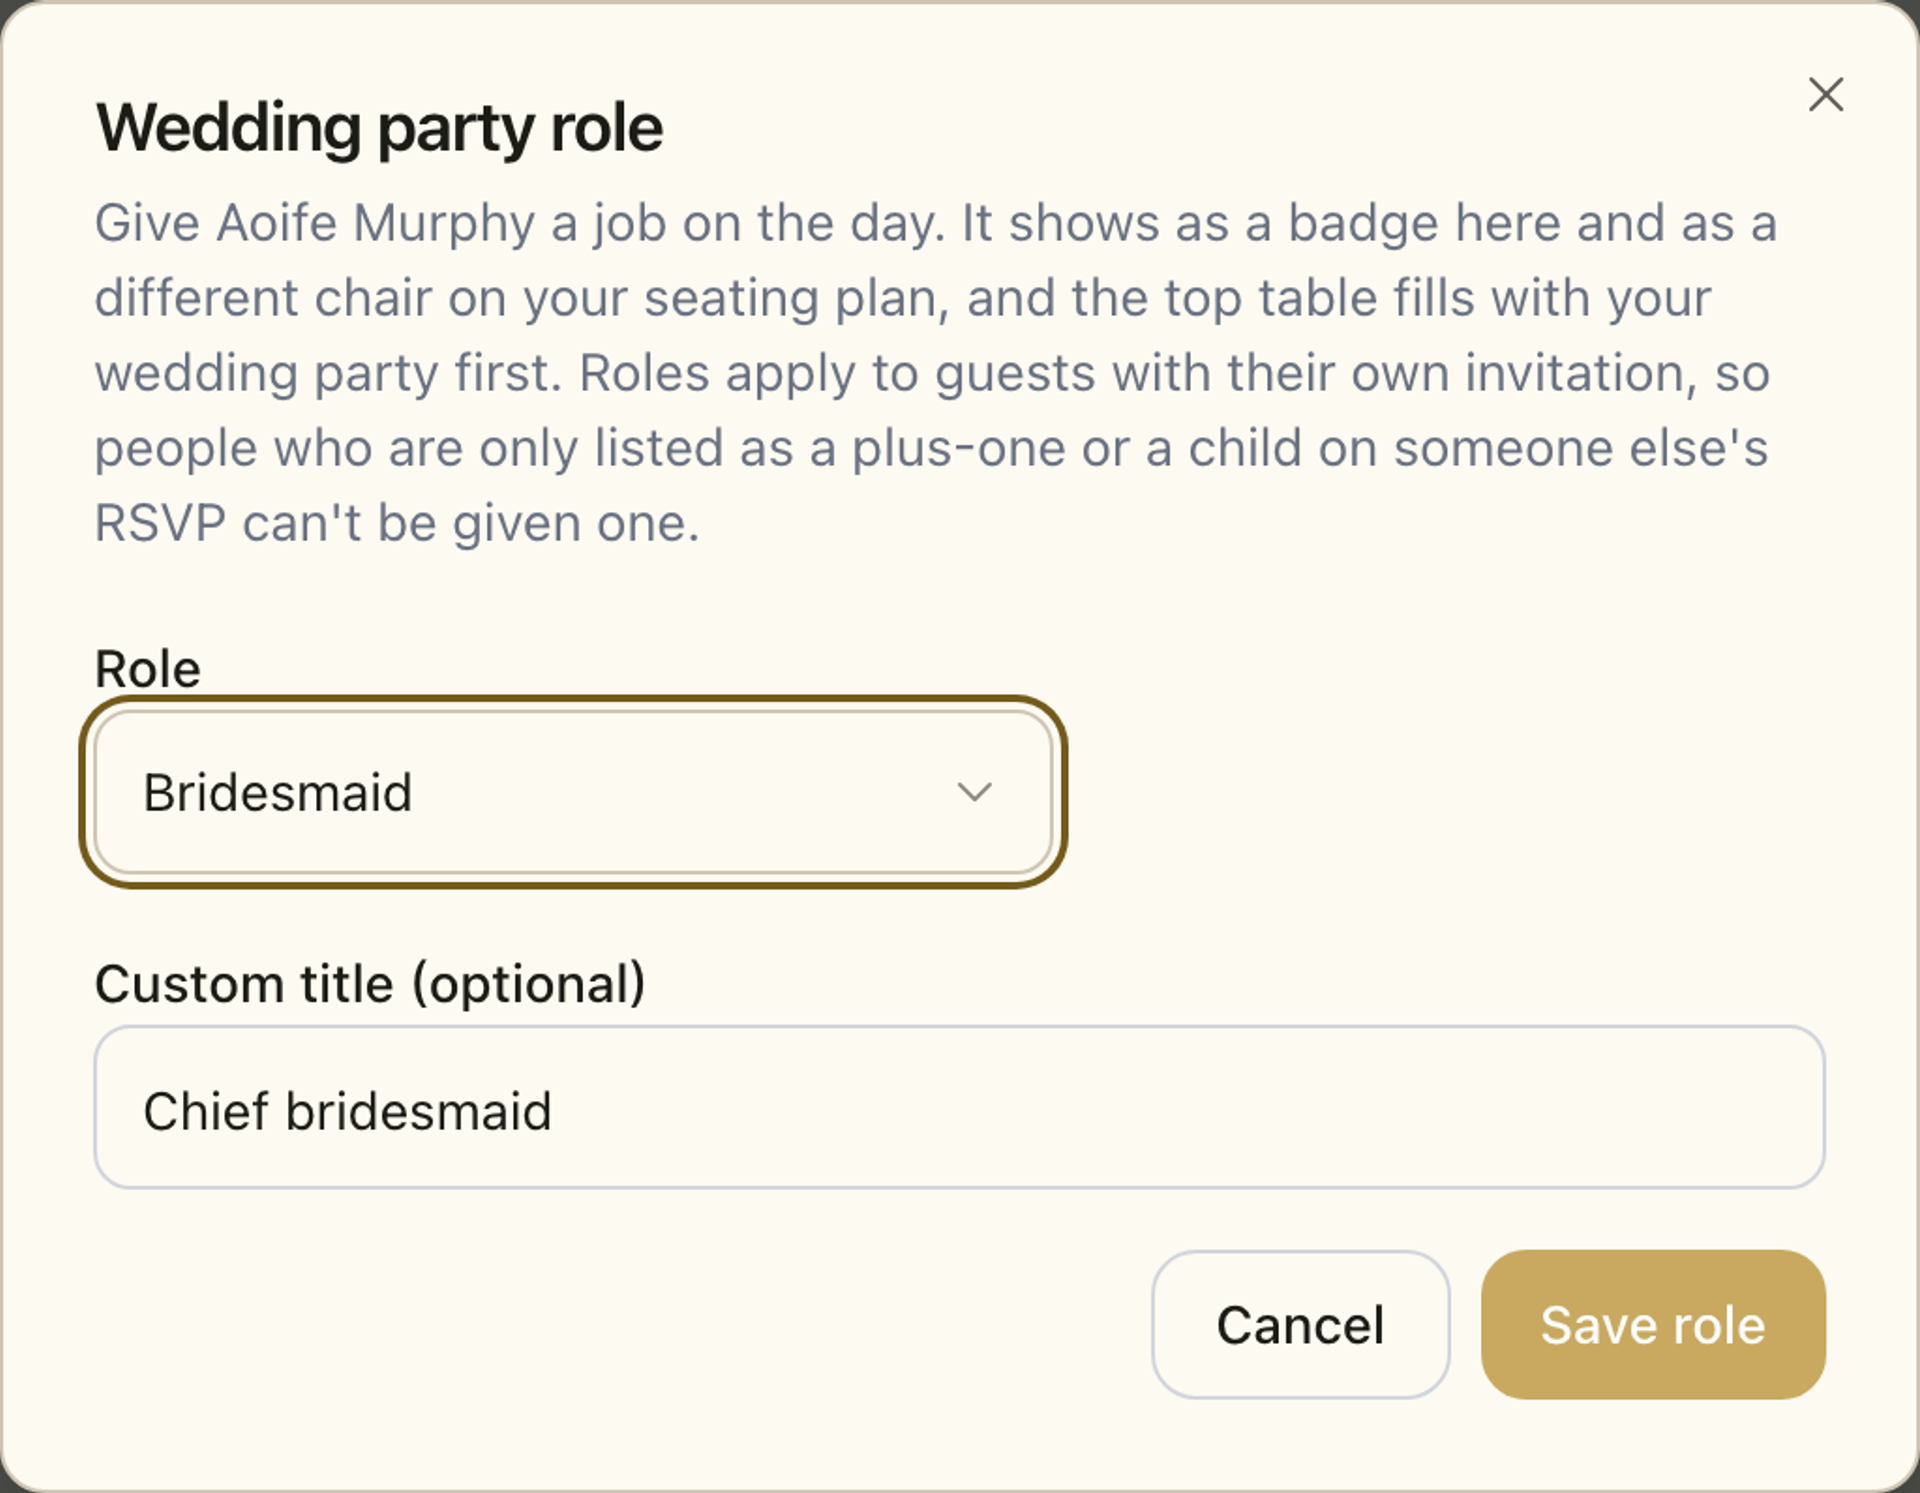
Add the substance: the RSVP, the full ceremony and reception details, the FAQ, the wedding party, the schedule and the registry. With an average guest list well over a hundred people, the FAQ and clear details do a lot of quiet work here, answering questions at scale so you do not field them one by one.
Two to three months out: the final sprint
Confirm and tidy everything, and crucially, add the way guests will share photos on the day, the QR code or invite, so it is familiar before they arrive. Send the formal invitations, set the RSVP deadline, and make sure every detail is final.
Wedding week
Do a last pass on a phone. Check the site reads well on mobile, close the RSVP, and update anything that has changed, timings, transport, weather notes. This is also when you confirm the on-the-day photo sharing is switched on and visible.
After the wedding
Your website's most valuable phase begins the day after the wedding, so do not let it go dark. Keep it live for at least six to twelve months and let its centre of gravity shift to the gallery and guest book.
Add a thank-you note, make sure the photo gallery is open for guests to add their candids, and share the link again. Guests upload most of their photos in the first day or two while the day is fresh, so an early nudge matters. This is the period the whole site was quietly building towards: one place where the professional photos, the guest captures, the voice toasts and the messages all live together. The full approach is in how to share your wedding photos after the big day.
Short engagement (under six months)
A short engagement compresses the timeline but does not change the order, so move fast and launch with everything at once. Build the site and publish it immediately with the date, location, travel and RSVP all live together, because there is no time for a phased rollout.
Combine your save-the-date and invitation into a single send that points straight to the website, set a tighter RSVP deadline, and prioritise the information guests need to travel and book time off. Everything else, the story, the extras, can follow once the essentials are out.
Destination weddings
Destination weddings need the longest lead time of all, so launch even earlier, ideally ten to fourteen months ahead. Guests are committing to flights, time off and accommodation, and that takes planning.
Make travel and accommodation the centrepiece of the site from day one: how to get there, where to stay across budgets, visa or document notes if relevant, and a realistic sense of the costs involved. The earlier this is live, the more of your guests can say yes.
Elopements and micro-weddings
Even a tiny wedding benefits from a website, just a different one, focused on story and keepsake rather than logistics. With twenty guests or fewer, you may not need a full RSVP or travel section.
What you do want is somewhere to tell your story, share a few details with the people who matter, and hold the photos afterwards. A single-step launch, build it, share it, keep it, is all an elopement needs, and the after-the-day gallery is often the whole point.
Five timing mistakes (and what each costs)
Most website timing problems come down to the same handful of mistakes. Avoid these and you avoid the avoidable stress.
- Launching too late. If guests cannot find travel and accommodation in time, you get more declines and more questions. Cost: lower attendance.
- Publishing with too little. A site with a date but no way to act on it sends guests away to ask you directly. Cost: a full inbox.
- Forgetting the RSVP deadline logic. Set it around four weeks before the day, after your caterer's cut-off plus a buffer. Cost: a last-minute headcount scramble.
- Adding the photo-sharing link only on the day. Guests meet it cold and ignore it. Cost: far fewer photos. Add it to the site weeks ahead so it is familiar.
- Taking the site down too soon. Guests are still uploading photos for weeks. Cost: lost memories. Keep it live.
Complete countdown checklist
Work through this from engagement to after the day.
- Right after engagement: claim your website address, put up names, date and location.
- Nine to twelve months: launch with save-the-dates, add travel basics and a way to register interest, arrange hotel blocks.
- Six to eight months: open the RSVP, add full details, FAQ, wedding party, schedule and registry.
- Two to three months: send invitations, set the RSVP deadline, add the on-the-day photo-sharing link.
- Wedding week: check on mobile, close the RSVP, confirm photo sharing is live, update last-minute changes.
- After the day: add a thank-you, open the gallery, share the link again, keep the site live six to twelve months.
The thread through all of it: build your website once, in stages, for all three of its jobs. The version that informs your guests before the day is the same one that keeps your memories after it. To see how a wedding website and a wedding-day capture app work together across that whole arc, visit the companion app page, and for what each section should contain, see what to put on your wedding website.
Frequently Asked Questions
A place to return to, whenever you like
Create a wedding page you can come back to today, on your anniversary, and for years to come.